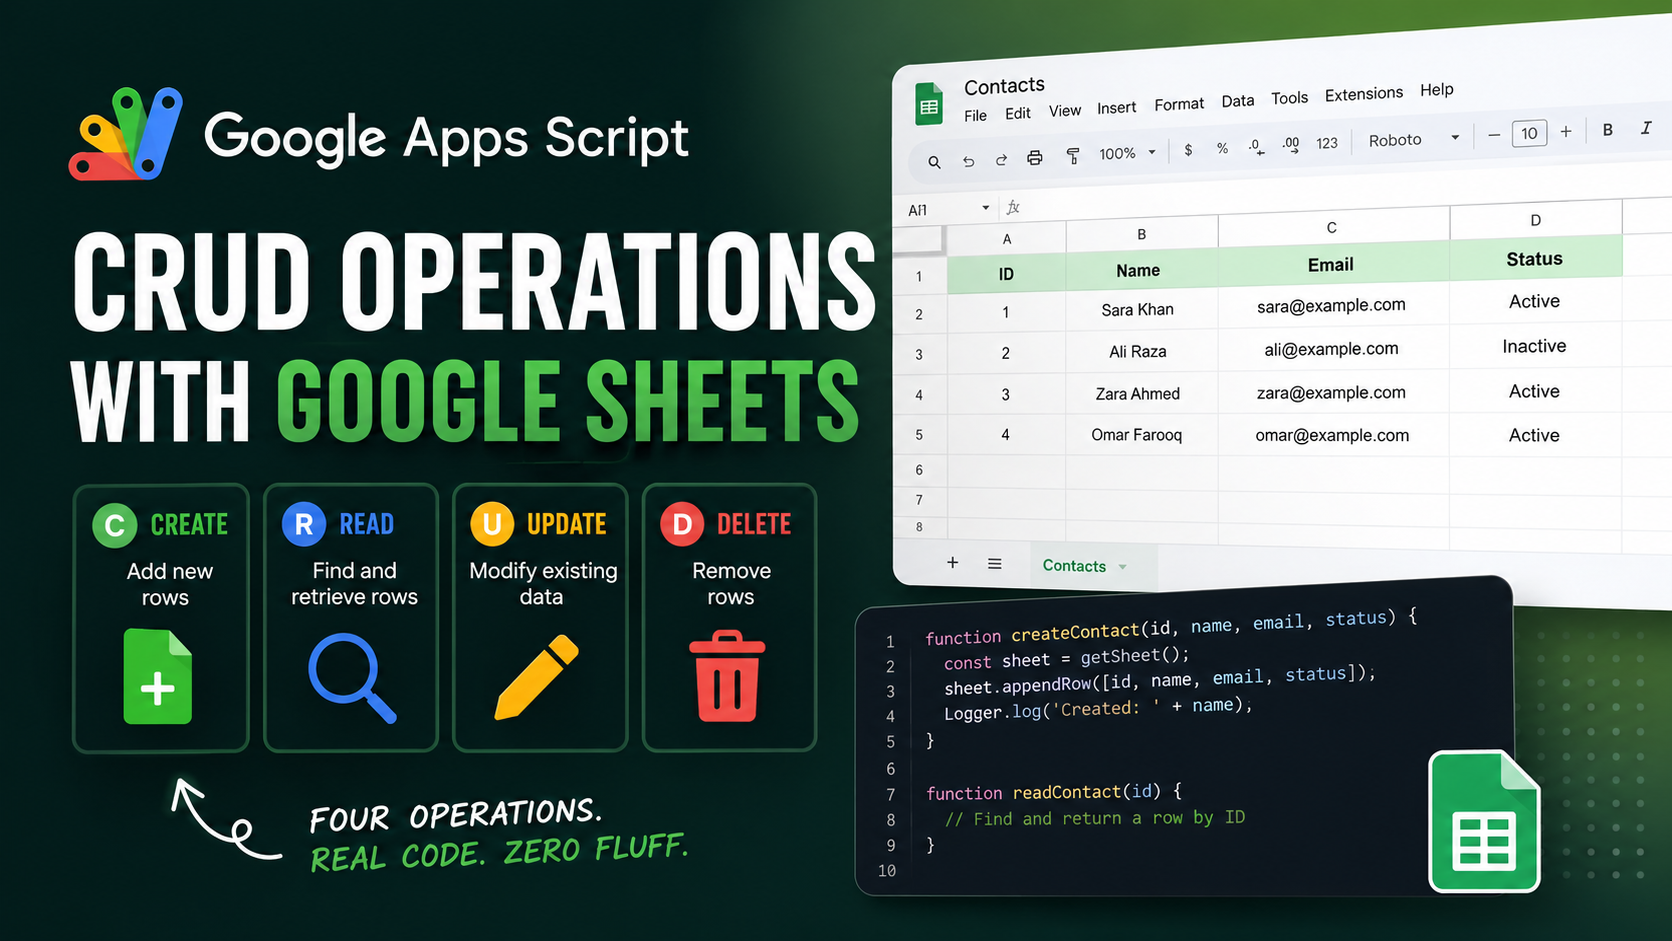
CRUD — Create, Read, Update, Delete — is the backbone of almost every real automation. If your Google Sheets script does anything useful with data, it's doing at least one of these four things. This guide covers all four, with copy-paste code for each operation, so you can build on top of them immediately.
We'll use a simple contacts sheet (columns: ID, Name, Email, Status) as the example throughout. By the end you'll have four standalone functions you can drop into any project.
Setting Up Your Sheet
Before writing any script, open Google Sheets and create a new spreadsheet. In the first row, add these headers exactly: ID, Name, Email, Status. Rename the sheet tab to Contacts. This is what the script will reference.
Open the Apps Script editor via Extensions → Apps Script. You'll write all four functions in the same Code.gs file. We'll start with a shared helper to keep things clean.
The Helper: getSheet()
Every CRUD function needs a reference to the same sheet. Rather than repeating that lookup four times, put it in one place:
function getSheet() {
  return SpreadsheetApp
    .getActiveSpreadsheet()
    .getSheetByName('Contacts');
}
All four functions below call getSheet() at the top. If you ever rename the tab, you only change one line.
CREATE — Append a New Row
Adding a row is the simplest operation. appendRow() adds data at the first empty row below your existing data — no need to calculate which row to write to.
function createContact(id, name, email, status) {
  const sheet = getSheet();
  sheet.appendRow([id, name, email, status]);
  Logger.log('Created: ' + name);
}
To test it, add a call at the bottom of your script and run it from the editor:
function testCreate() {
  createContact(1, 'Sara Khan', 'sara@example.com', 'Active');
  createContact(2, 'Ali Raza', 'ali@example.com', 'Inactive');
}
Run testCreate() and you'll see two rows appear in your Contacts sheet. That's your C.
“appendRow() is safe for concurrent writes only if you pair it with LockService. For solo scripts, it's fine as-is.
READ — Find a Row by ID
Reading data means pulling all rows and searching for the one you want. getValues() returns a 2D array — one sub-array per row, one element per column.
function readContact(id) {
  const sheet = getSheet();
  const data = sheet.getDataRange().getValues();

  // Skip the header row (index 0)
  for (let i = 1; i < data.length; i++) {
    if (data[i][0] === id) {
      const [rowId, name, email, status] = data[i];
      Logger.log(`Found: ${name} | ${email} | ${status}`);
      return { rowIndex: i + 1, id: rowId, name, email, status };
    }
  }

  Logger.log('Contact not found: ' + id);
  return null;
}
Two things worth noting: the loop starts at index 1 to skip the header row, and the returned rowIndex is i + 1 because Apps Script row numbers are 1-based (the header is row 1, your first data row is row 2). You'll need that rowIndex for update and delete.
UPDATE — Change a Value in an Existing Row
Updating a row means finding it first, then writing new values back to the same row. We'll reuse readContact() to locate the row, then use getRange() to overwrite it.
function updateContact(id, newName, newEmail, newStatus) {
  const sheet = getSheet();
  const contact = readContact(id);

  if (!contact) {
    Logger.log('Cannot update — contact not found: ' + id);
    return;
  }

  // getRange(row, column, numRows, numColumns)
  sheet.getRange(contact.rowIndex, 1, 1, 4).setValues([
    [id, newName, newEmail, newStatus]
  ]);

  Logger.log('Updated row ' + contact.rowIndex);
}
getRange(row, col, numRows, numCols) targets a specific rectangle of cells. Here we start at column 1, span 1 row and 4 columns, then write a 2D array with our new values. The outer array wraps the row, the inner array holds the cells — that's the shape setValues() expects.
If you only want to update a single field — say, just the Status — target that column specifically:
function updateStatus(id, newStatus) {
  const sheet = getSheet();
  const contact = readContact(id);

  if (!contact) return;

  // Column 4 = Status
  sheet.getRange(contact.rowIndex, 4).setValue(newStatus);
  Logger.log('Status updated to: ' + newStatus);
}“Use setValue() (singular) for one cell. Use setValues() (plural) with a 2D array for a range. Mixing them up is one of the most common Apps Script mistakes.
DELETE — Remove a Row Entirely
Deleting a row is one line once you know the row number. deleteRow() shifts everything below it up automatically.
function deleteContact(id) {
  const sheet = getSheet();
  const contact = readContact(id);

  if (!contact) {
    Logger.log('Cannot delete — contact not found: ' + id);
    return;
  }

  sheet.deleteRow(contact.rowIndex);
  Logger.log('Deleted contact ID: ' + id);
}
One warning: if you're deleting multiple rows in a loop, delete from the bottom up. Deleting row 3 shifts row 4 to become row 3 — if you then try to delete the original row 4, you'll miss it or hit the wrong row. Reverse-sort your row indexes before looping.
// Safe multi-delete — always delete bottom-up
function deleteMultiple(ids) {
  const sheet = getSheet();
  const contacts = ids
    .map(id => readContact(id))
    .filter(Boolean)
    .sort((a, b) => b.rowIndex - a.rowIndex); // descending

  contacts.forEach(c => {
    sheet.deleteRow(c.rowIndex);
    Logger.log('Deleted ID: ' + c.id);
  });
}
Putting It All Together
Here's a single test function that runs all four operations in sequence so you can see the full lifecycle:
function testAllCRUD() {
  // CREATE
  createContact(101, 'Zara Ahmed', 'zara@example.com', 'Active');

  // READ
  const found = readContact(101);
  Logger.log(JSON.stringify(found));

  // UPDATE
  updateContact(101, 'Zara Ahmed', 'zara@newdomain.com', 'Inactive');

  // DELETE
  deleteContact(101);

  Logger.log('CRUD cycle complete.');
}
Run testAllCRUD(), then open View → Logs to see each step confirmed. If anything fails, the Logger output tells you exactly where.
Common Mistakes to Avoid
getDataRange() returns every cell that has ever had data, including blank rows that once had values. If your sheet looks empty but getDataRange() returns more rows than expected, use getLastRow() to bound your range precisely: sheet.getRange(2, 1, sheet.getLastRow() - 1, 4).getValues(). This skips the header and stops at the last real row.
Also watch out for type mismatches on IDs. If your ID column contains numbers and you're passing a string to readContact(), the strict equality check (===) will never match. Either always use the same type, or cast both sides: Number(data[i][0]) === Number(id).
Batch Reads Are Faster Than Cell-by-Cell
Every call to getValue() or getRange() on a single cell is a round-trip to the Sheets API. If you're reading 50 rows one cell at a time, that's 50 API calls and your script will hit the execution time limit fast. Always read the entire data range once with getValues(), store it in a variable, and loop over the array in memory. This is the single biggest performance improvement you can make to any Apps Script.
// Slow — one API call per row
for (let i = 1; i <= sheet.getLastRow(); i++) {
  const name = sheet.getRange(i, 2).getValue(); // bad
}

// Fast — one API call total
const allData = sheet.getDataRange().getValues();
for (let i = 1; i < allData.length; i++) {
  const name = allData[i][1]; // good
}
The same principle applies to writes: batch your setValues() calls rather than calling setValue() inside a loop.
What to Build Next
Once you have CRUD working, the next natural steps are triggering these operations automatically. You can wire createContact() to a Google Form submission so new entries land in your sheet the moment someone fills out the form — see our guide on using Apps Script with Google Forms. You can also pair your script with a time-based trigger to run cleanup deletes every night without touching the keyboard.
For anything more complex — filtering by multiple columns, paginating through large sheets, or exposing your CRUD operations as a REST endpoint — Apps Script scales there too. But the four functions above are the foundation everything else builds on.
GS Copilot generates CRUD functions like these from a single prompt, already wired to your sheet structure — free to try.